


A monitor builds colour with red, green and blue light in the RGB colour space. Most process printing creates colour with cyan, magenta, yellow and black inks, commonly described as CMYK. Some bright RGB colours cannot be reproduced exactly with process inks, so a conversion can appear duller or shift in hue.
Related guidance for the next decision
For outsourced production, see digital full-colour label printing; teams requiring colour on demand can compare the Epson ColorWorks C8000e colour label printer. Versioned artwork planning is covered in combining several label designs on one roll.
Every screen is different
Brightness, contrast, display technology, colour profile, ambient light and calibration affect what you see. A phone at full brightness and an uncalibrated office monitor are not reliable print references. Even two screens displaying the same file can look different.
Material changes the colour
Ink interacts with the label surface. A bright white gloss film can make colour appear cleaner and more saturated than an uncoated, textured or cream paper. Clear stock allows the product or container to influence the result unless white ink is used strategically. Metallic materials create another distinct appearance.

Finish and lighting matter
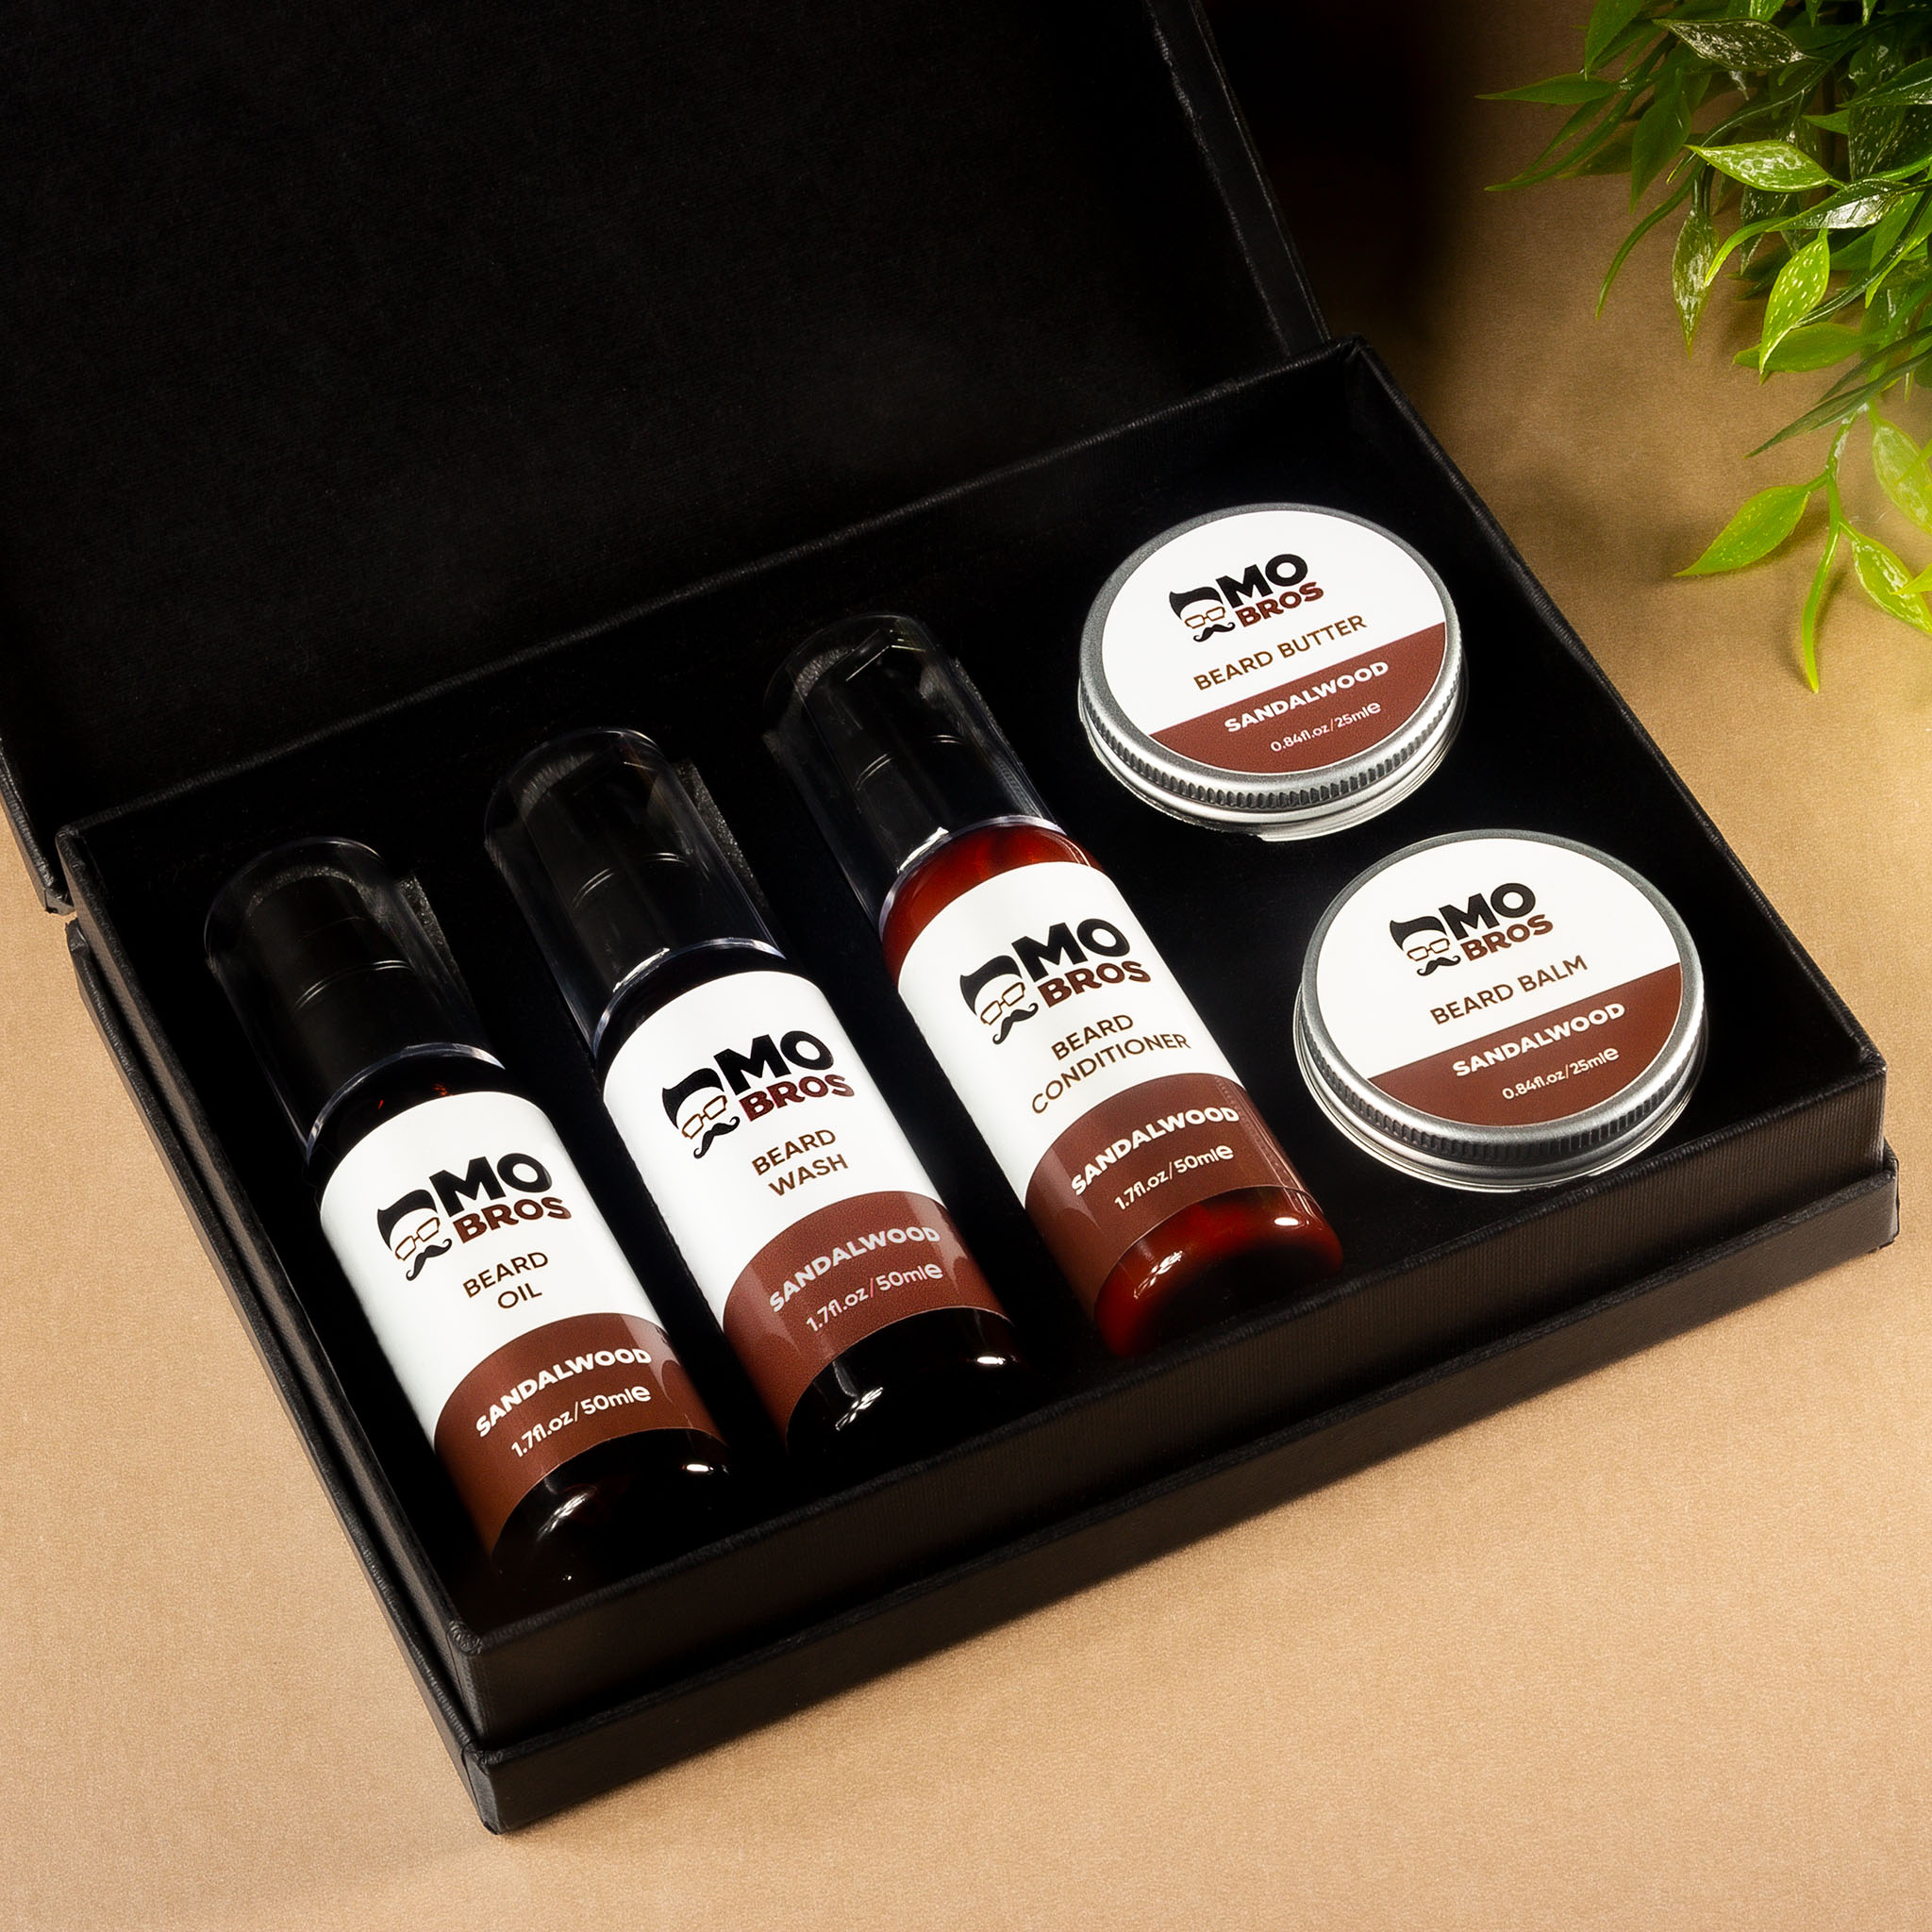
Gloss laminate or varnish can deepen colour and increase contrast, while matte finishes scatter light and can look softer. Store lighting, daylight and warm indoor lighting alter perception. A proof should therefore be viewed under conditions relevant to the product, not only beside a computer.
Process colour and spot colour
CMYK is efficient for photographs and multi-colour artwork, but a specified brand colour may require controlled spot-colour matching or a defined production target. Pantone references help communicate intent, yet the achievable result still depends on stock, ink set, press and finish. “Pantone on screen” is not physical proof.


How to prepare artwork
Use the requested colour mode and profile, supply vector brand assets where possible, embed or outline fonts as agreed, and include suitable image resolution. Avoid building critical brand colours from arbitrary RGB values. Tell the printer which elements are colour-critical and provide an approved physical reference if one exists.
Proofing and tolerances
A soft proof is useful for layout but remains screen-based. A calibrated contract proof or press proof offers better colour evidence, although the final substrate and finish must still be considered. Agree reasonable tolerances and keep approved samples for future runs.
Soabar production support
Soabar’s digital label printing service supports full-colour labels, variable artwork and finishing options. The in-house design and production teams can review artwork and material choices before manufacture; use the contact page to share colour-critical requirements.
Start with the operational requirement
Write a short specification for a colour-critical printed label before comparing products or prices. Define what the label must communicate, where it is applied, who applies or reads it, how long it must perform and what can cause failure. Include volumes, peak demand and the consequence of an unreadable, detached or incorrect label. This turns a vague request into measurable acceptance criteria and gives the supplier a sound basis for recommending materials, equipment or production methods.
Prototype on the real product
A flat sample in an office cannot reproduce every condition faced by a colour-critical printed label. Test the actual container, garment, item or roll through application, storage, transport and use. Include worst-case but realistic temperatures, moisture, abrasion, speed, curvature and handling. If machinery is involved, run enough labels to expose feeding, sensing and changeover issues. Photograph and record results so approval is traceable and can be compared after a material or process change.
Control artwork and data
Use one approved master for text, dimensions, colours, codes and version status. Make responsibilities clear: who supplies data, who approves content, who checks proofs and who releases production. Variable information needs validation rules for length, character set, uniqueness and barcode or encoded-data quality. File names alone are weak version control; an artwork schedule or product specification should link each approved design to its intended item and quantity.
Consider the converting process
Printing is only one part of label manufacture. Die cutting, matrix removal, slitting, lamination, varnishing, rewinding, inspection and packing can affect the finished roll. Very small gaps, sharp corners, thin liners, heavy ink coverage or unusual shapes may influence dispensing and application. Discuss the production line early so a visually attractive design does not become difficult to manufacture or apply consistently.
Plan for quality checks
Define what will be inspected and how often. Useful checks can include dimensions, copy, colour target, adhesion, print rub, barcode grade, roll count, winding, sequence, electronic encoding or resistance testing, depending on the job. Agree tolerances that reflect the application. Retain an approved sample and job specification so repeat orders are compared with a physical and documented standard rather than a recollection of how the previous batch looked.
Think about total cost
The purchase price of a colour-critical printed label is only one cost. Include artwork changes, tooling, consumables, operator time, waste, downtime, storage, obsolete stock and failures in the field. A durable construction can cost more per label but reduce relabelling or returns. Conversely, over-specifying a short-life label wastes money and materials. Match performance to the genuine product journey and expected service life.
Sustainability without performance trade-offs
Reduce unnecessary material, liner and obsolete stock while ensuring the label still performs its essential role. A label that falls off and causes a product or pack to be discarded is not an environmental success. Consider face stock, adhesive, ink, coating, release liner, pack compatibility, recyclability claims and production waste together. Ask for evidence supporting material claims and avoid broad environmental language that the complete construction cannot substantiate.
Information to send with an enquiry
Provide product photographs and samples, surface material, dimensions, exposure, storage range, required life, artwork count, annual and batch quantities, application method, equipment model, core and roll limits, print or data requirements and relevant standards. State which characteristics are critical and which can be adjusted. Complete information shortens the sampling process and reduces the risk that a colour-critical printed label is specified for an imagined environment rather than the real one.
Build the decision around evidence
Good label decisions are documented rather than assumed. Record the product specification, approved artwork, samples, test conditions and sign-off. Where the content carries safety, care, traceability or regulatory information, include an independent check by someone who did not prepare the original file. This simple separation catches familiar wording, transposed values and outdated versions that the original author may overlook. Evidence also makes later troubleshooting faster because the team can distinguish a design decision from an uncontrolled production change.
Manage changes before the next order
Products, ingredients, suppliers, containers, machinery and legal requirements can change during the life of a label. Set a review trigger for each relevant change rather than reordering automatically from the previous file. Confirm that material, adhesive, dimensions, wording, codes, orientation and quantities are still correct. Withdraw obsolete artwork and identify superseded label stock so it cannot return to the packing line. Repeat orders should be convenient, but convenience should never bypass content approval or application checks.
Work with the supplier early
Early discussion gives the label supplier room to solve constraints through material choice, artwork adjustment, finishing, roll format or printing method. Sending finished artwork only after every decision has been locked can hide avoidable problems. Share non-negotiable requirements and explain the production process, then allow suitable alternatives to be sampled. The strongest result combines the product owner’s knowledge of the item and customer with the supplier’s knowledge of print, materials, converting and equipment.
A practical specification checklist
Before ordering or acting, record the intended use, the product or garment construction, environmental exposure, required lifetime, critical information, production method and any equipment constraints. Confirm the final artwork at actual size and test a representative sample. Keep the approved specification and sample with the job record so repeat production is based on evidence rather than memory.
Frequently Asked Questions

Let’s Talk Labels
Need the perfect label, printer, or software for your business? Our team is ready to help you choose the right solution, answer your questions, and provide a personalised quote. Let’s make labelling easy.